.png?fit=max&auto=format&n=kg7DOeb3LjeDp7us&q=85&s=97f9180a06d637bed699a5478a30463b)

Business Signup
Creating a business account starts the same way as a personal one, then asks for your company name instead of just an email. There’s no password at any point.Opening a personal account? See Sign up instead.
1. Choose a business account
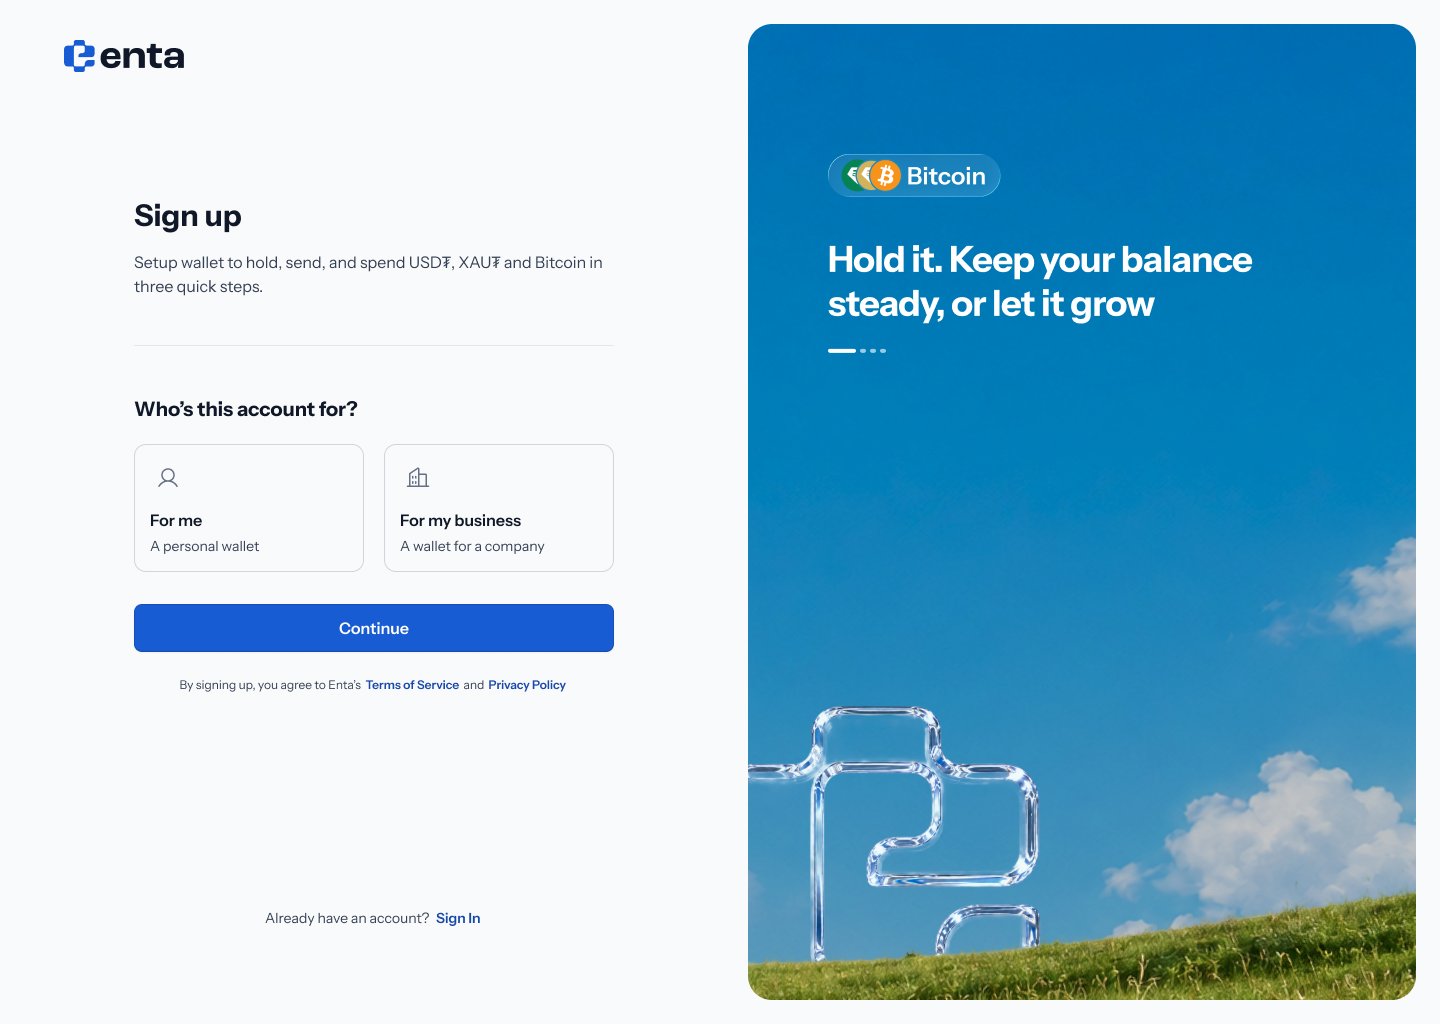
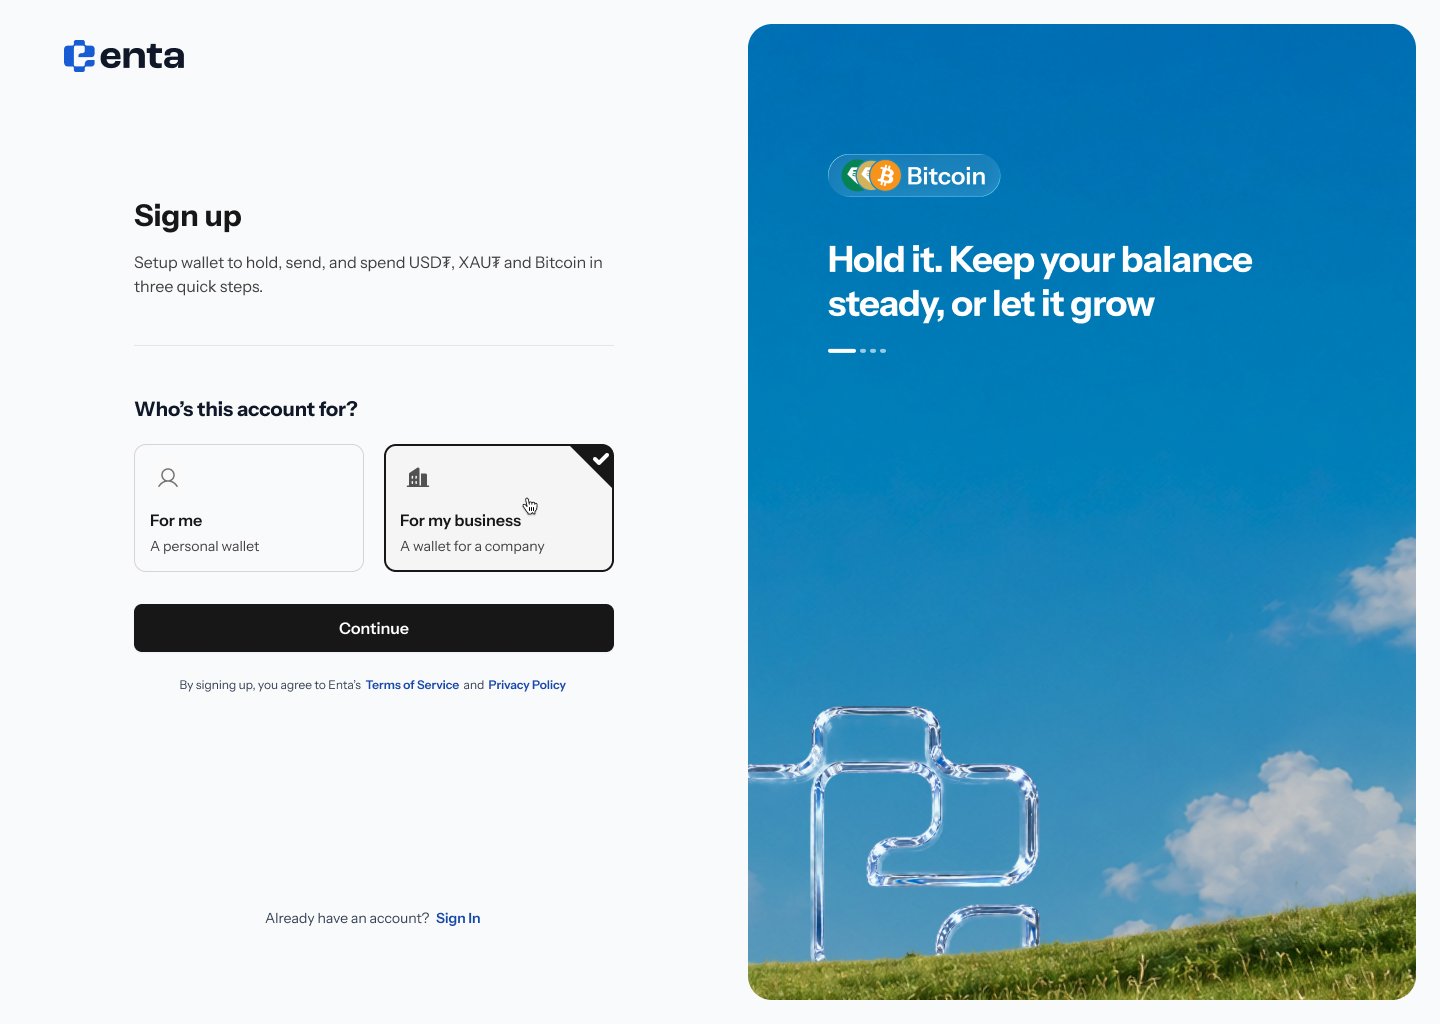
The sign-up screen is headed “Sign up” — “Setup wallet to hold, send, and spend USD₮, XAU₮ and Bitcoin in three quick steps.” Under “Who’s this account for?” pick the second card:- For me — “A personal wallet”
- For my business — “A wallet for a company”
2. Enter your business name and work email
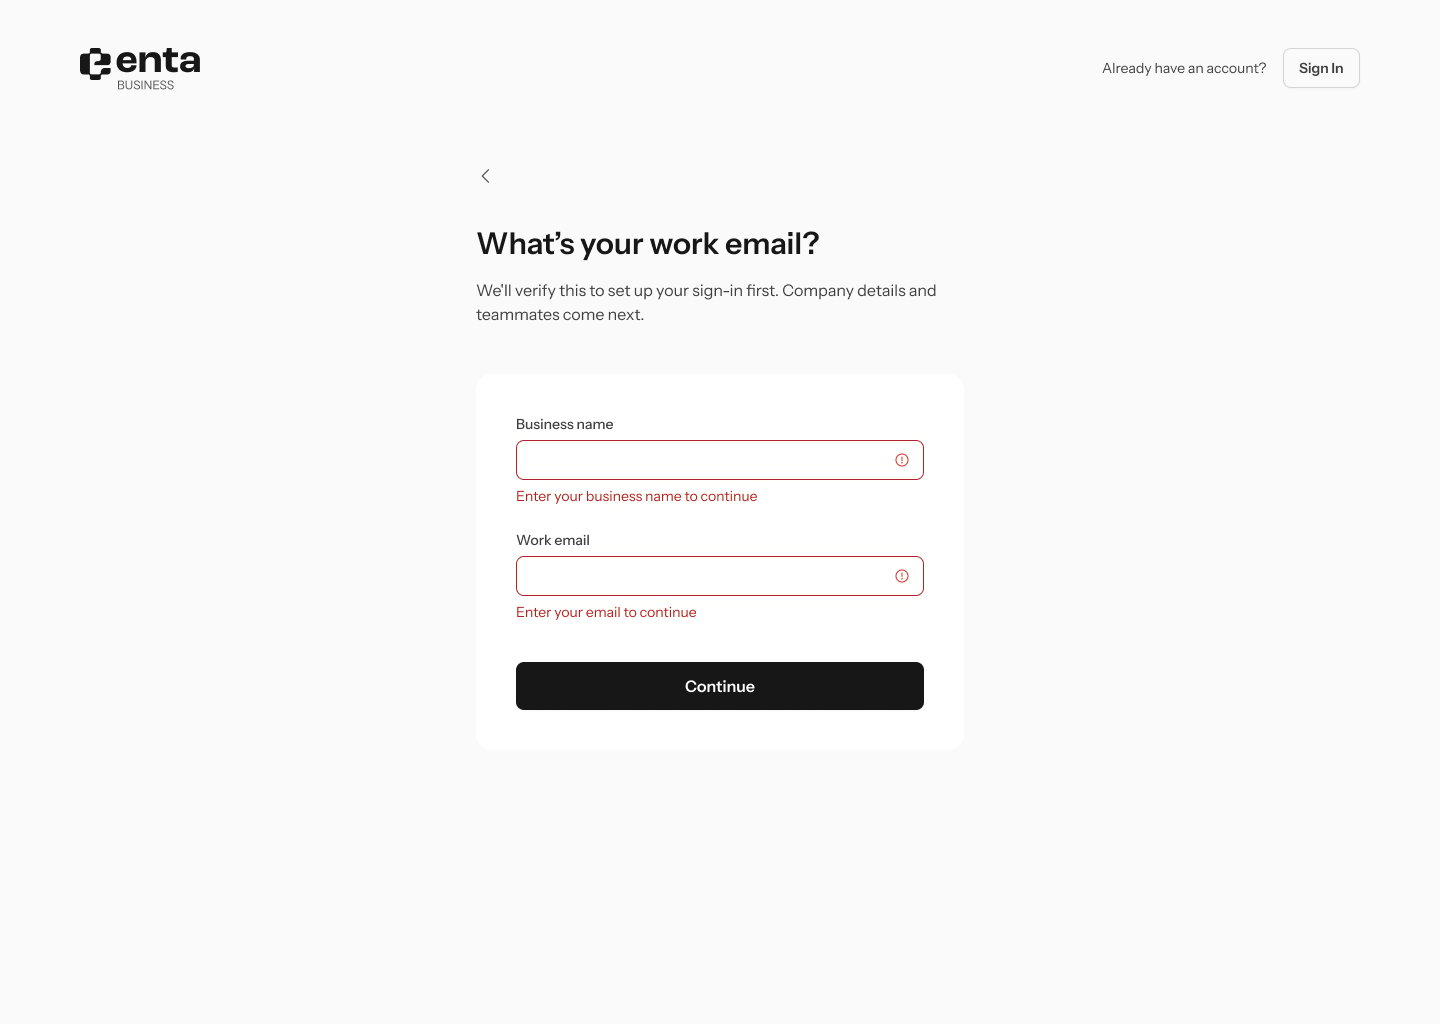
Step 2 asks “What’s your work email?” — “We’ll verify this to set up your sign-in first. Company details and teammates come next.” Two fields:- Business name
- Work email
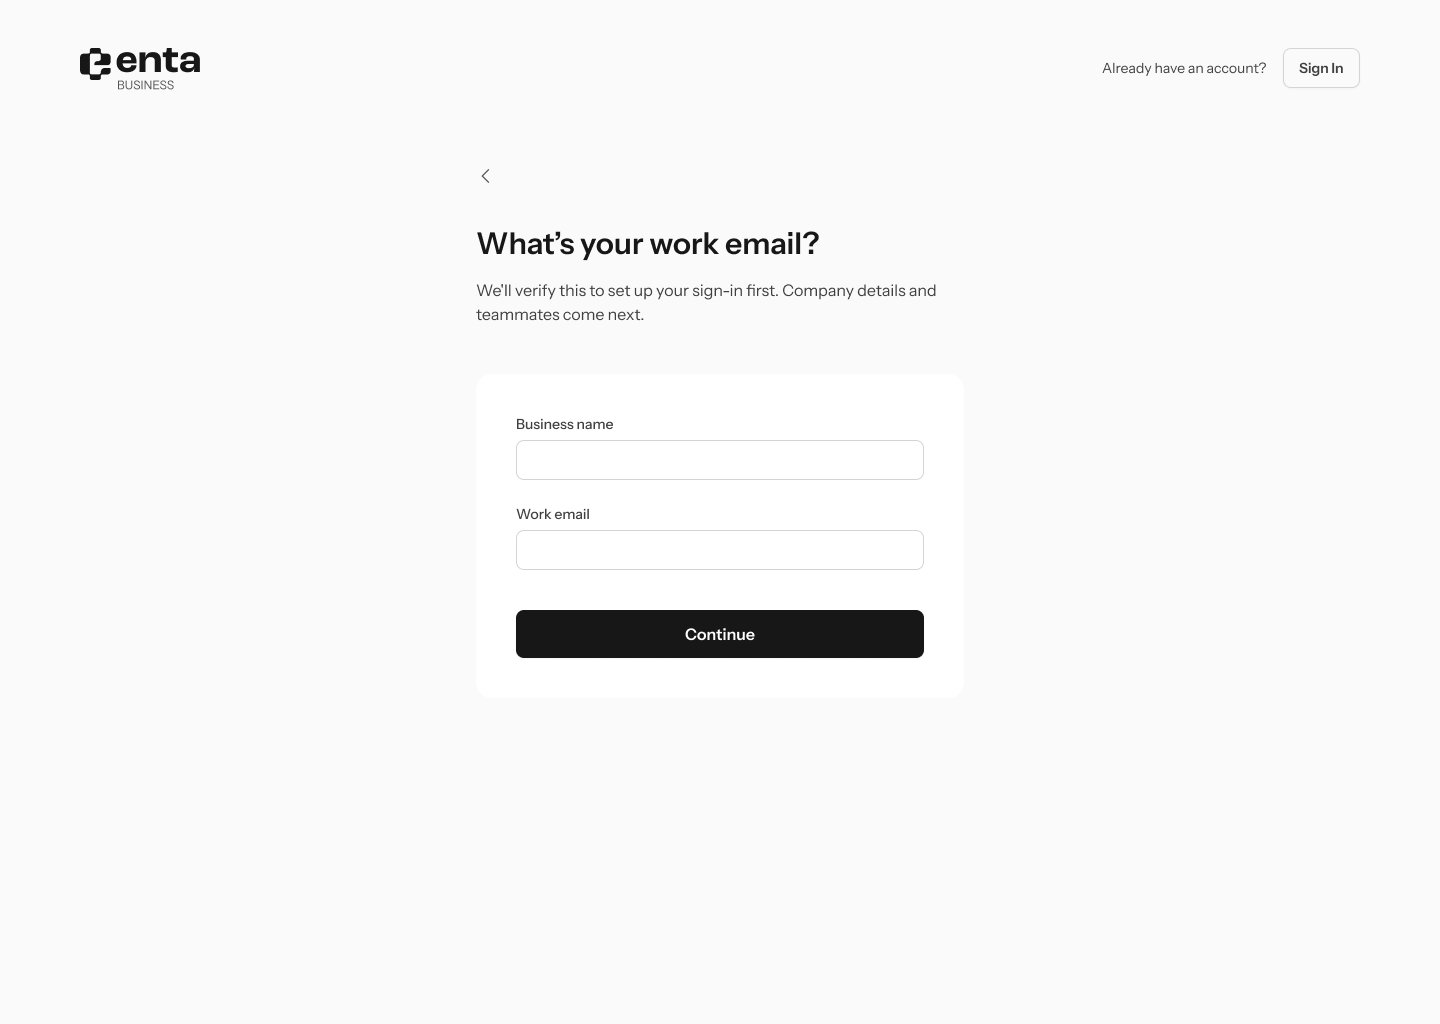
This is the first real difference from the personal route. The personal path only asks for an email; here Enta needs the company name too, and the sub-headline tells you company details and teammates come later rather than now.
3. Open the link in your inbox
The next screen confirms “Check your inbox” — “We sent a login link to” followed by your address. There’s nothing to type; go and open the email.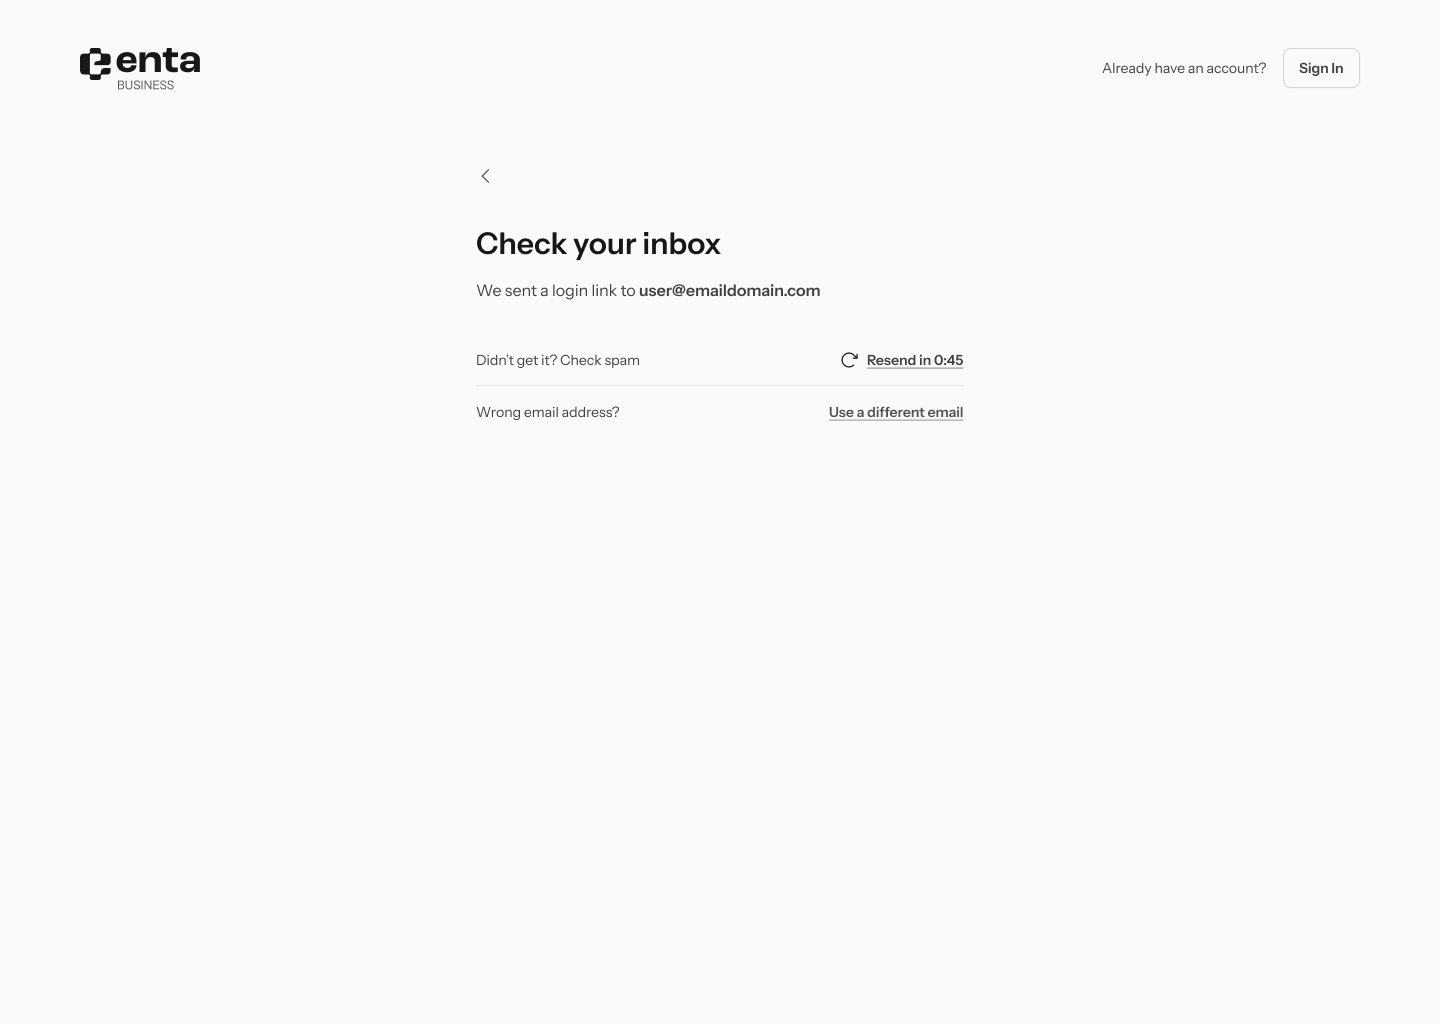
4. Create your passkey
Enta then asks you to create a passkey, and your browser and operating system take over — Face ID, Touch ID, or Windows Hello. There’s no password to choose.Business accounts carry a Business account badge on the sign-in screen, with “Not your business account?” and Use Personal account beneath it. If you hold both a personal and a business account on the same email, that’s how you switch between them.
5. You land on wallet setup
Once your passkey is created you arrive at your business dashboard, greeted by company name — for example “Hello Edu Travels,” — with “Activate your wallet for crypto transactions”.
get started begins the first one. What you get opens an explainer covering holding crypto, sending and receiving across Base, Ethereum, Tron and Bitcoin, swapping, and getting paid by payment link.
Carry on at KYB Landing.